Build a custom architecture
A custom architecture is one you shape yourself — your team's view of the code, built to your design. There are three ways to build one: tag entities as you come across them, lay the whole structure out at once in the Architecture Designer, or script it with the Python API so it rebuilds itself on every analysis. The first two mix freely; the third is the one that never goes stale.
Tag entities as you go
Select any file(s) or entities anywhere in Understand, then:
- Architectures → Add Selection to Architecture… (
Ctrl+Shift+A), or - right-click → Add to Architecture…, or
- the Tag Selected Entities toolbar icon in the Architecture Browser, or
- drag and drop the selection onto the Architecture Browser.
You're prompted for the architecture/node. Type a slash-separated path to create nested levels,
e.g. Owner/Chris. Remove items with right-click → Remove from Architecture.
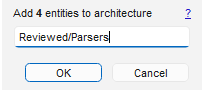
Reviewed/Parsers) to
file the entities under a nested node, creating any levels that don't exist yet.This is the natural fit for architectures that grow out of daily work — tagging code as Reviewed, Refactored, or Team/Alice the moment you're looking at it.
Design it in the Architecture Designer
For building a whole structure in one sitting, open the Designer: Architectures → Design Architecture → New Architecture. Name the architecture at the top, then work between three areas:
- Architecture Outline (left) — type your hierarchy as a plain-text outline, one node per line, indenting to create sub-levels. It's the fastest way to sketch the shape before any code is assigned.
- Graphical View / Textual View (center tabs) — the same architecture as a diagram or as text. In the Graphical View, right-click to Add Architecture Node or Delete Architecture Node; deleting a node with children asks whether to remove them too.
- Entity panes (right) — your project's files, directories, and entities. Drag them onto a node in the outline or graph to assign them. Toggle Hide Entities that have been added to this Architecture to see only what's still unassigned — when the pane is empty, everything is placed.
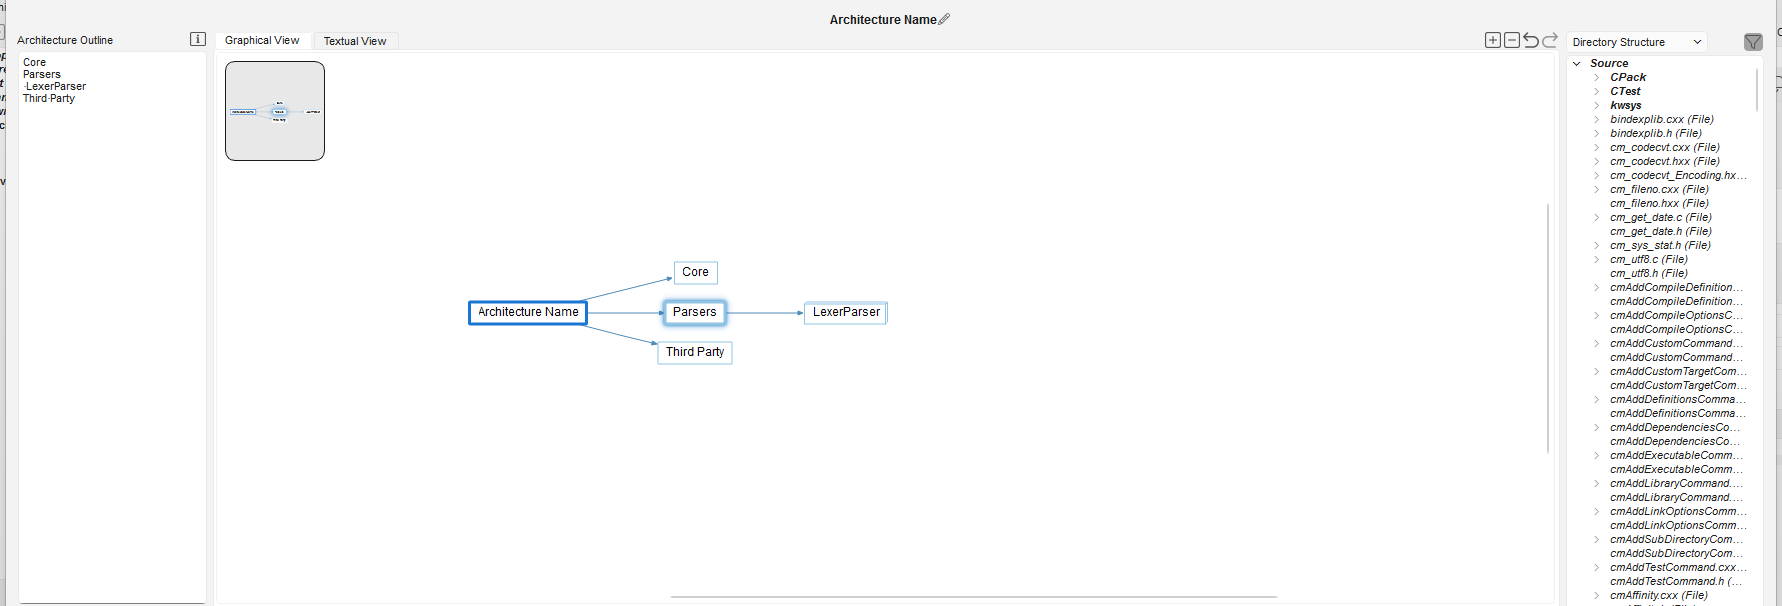
LexerParser under Parsers — get
assigned to them.Edits apply and save automatically — there's no Save button, and the Undo View tab (plus
Ctrl+Z/Ctrl+Shift+Z) tracks every change if you need to walk something back. The ⓘ button in
the Designer has more tips and a short intro video.
To rework an existing architecture later, right-click it in the Architecture Browser → Edit Architecture in Designer.
Check for complete coverage
To confirm every file is assigned, use the Designer's Hide Entities that have been added toggle — or, outside the Designer, the Project Browser's Hide By option — so what remains visible is exactly what's unassigned.
Script it with the Python API
If your grouping follows a rule — anything you can compute from the code — write it as an
automatic architecture plugin and let Understand do the
tagging. The plugin is a .upy script
that Understand runs automatically on every open and analysis, so the architecture repopulates
itself as the code changes. All the shipped
plugin architectures, including the
Git ones, are built exactly this way.
Two functions are required — name() and build(arch, db) — and one call does the work:
arch.add(entity, "path"),
with / in the path creating nested nodes:
def name():
  return "Ownership"

def build(arch, db):
  for file in db.ents("file ~unknown ~unresolved"):
    if "third_party" in file.relname():
      arch.add(file, "Third Party")
    else:
      arch.add(file, "Ours")
Optional functions add polish: description() and tags() for the Plugin Manager listing,
test_global(db) to hide the plugin where it doesn't apply, and define_options(arch) for
per-instance options. The shipped Long Name plugin (plugins/Arch/longname.upy in your install)
is tagged as a Sample Template — copy it as a starting point.
Install and enable your script via the Plugin Manager (or drag the
.upy onto Understand), then create an instance with Architectures → New Automatic
Architecture. See Write a plugin for the wider plugin API and the
Python API architectures guide for the full arch contract.
Custom architectures are saved with the project like any other, and can be exported and imported as XML to move between projects.