Create your first project (New Project Wizard)
An Understand project (a .und database) is created once and then re-analyzed as your code
changes. The New Project Wizard walks you through it.
1. Open the wizard
Choose File → New → Project. The New Project Wizard opens.
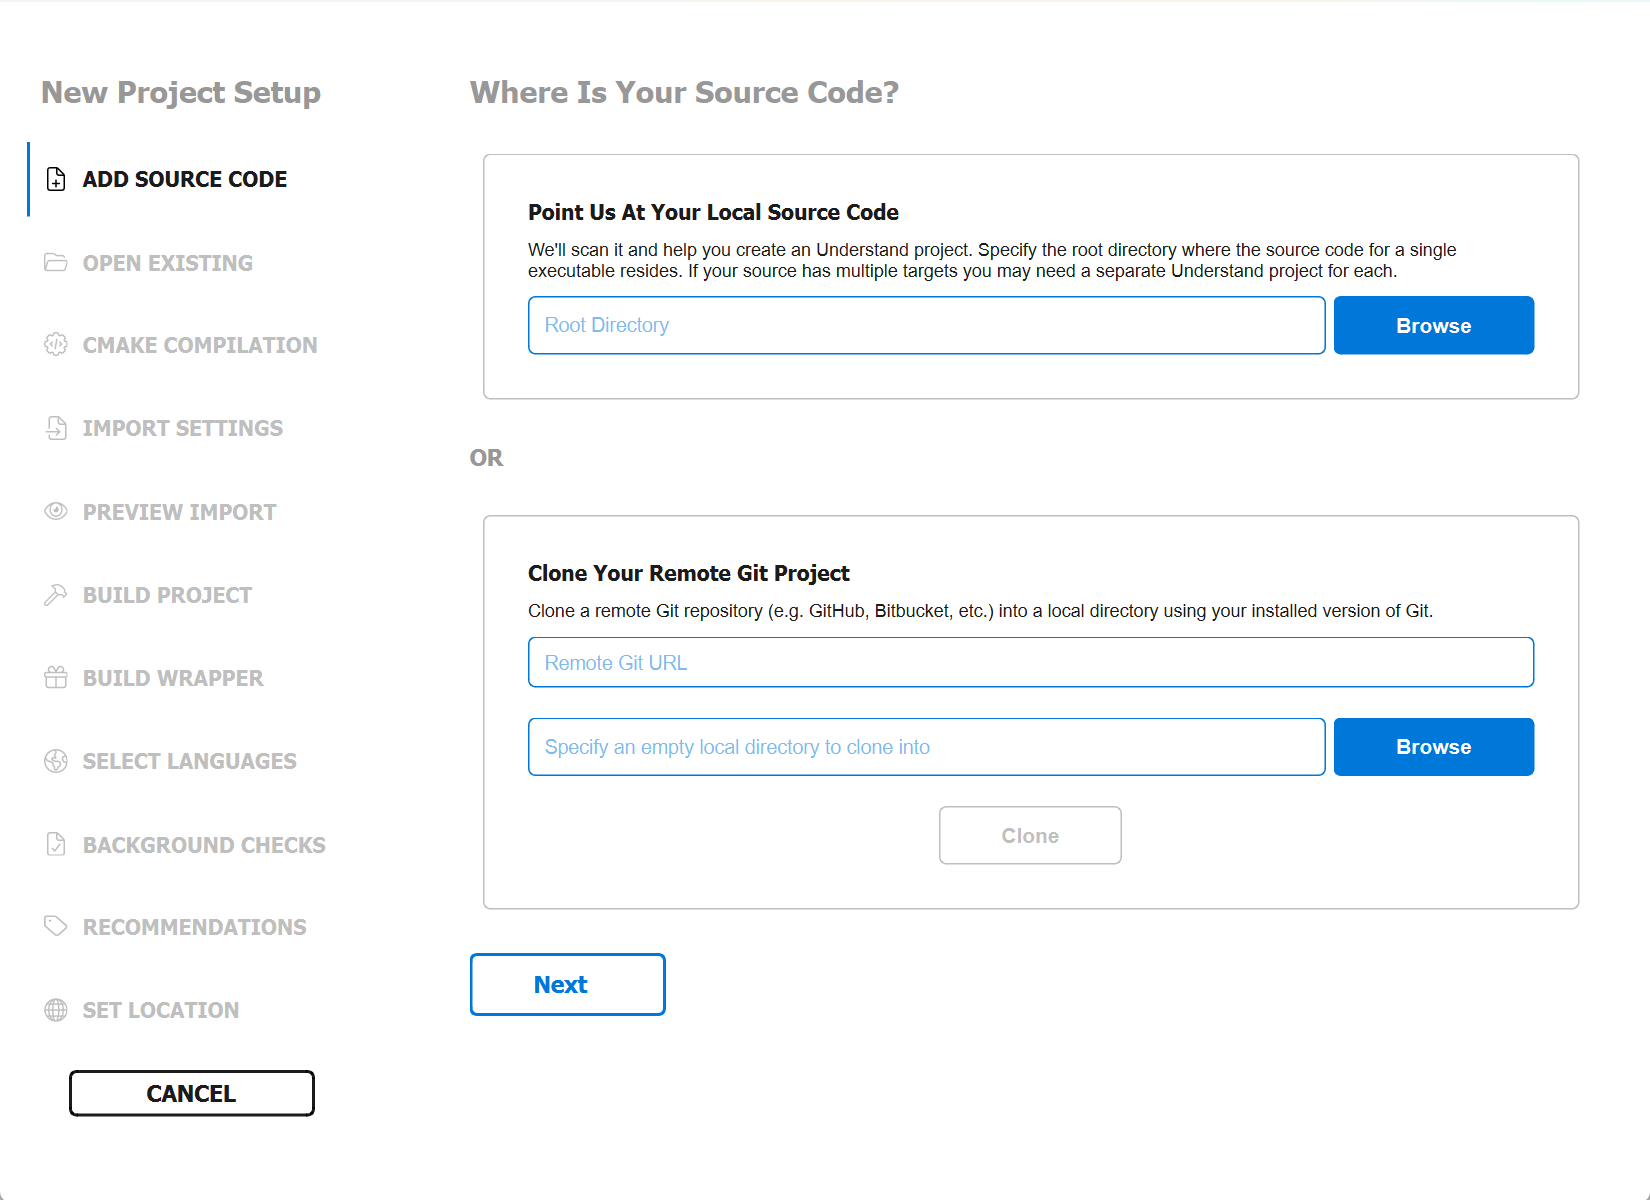
2. Point Understand at your source code
On the Where Is Your Source Code? page, click Browse and select the root directory of your source. Understand scans it to detect languages and any importable build files.
You can also clone a remote Git repository here instead — see Create a project from Git.
3. Import your build (recommended when offered)
If the scan finds build files — a Visual Studio .sln, a CMake
compile_commands.json, or an
Xcode, Cargo, Green Hills, Renesas, or Keil uVision project — the wizard offers to import them. Importing your real build is the most reliable way to get
accurate include paths and macros. Accept the import, or choose Skip to configure manually later.
For why this matters, see What Understand needs to analyze accurately.
4. Strict C/C++ analysis is the default
For C/C++ projects the wizard uses the Strict analysis automatically (C++UseStrict On) — the
Clang front end, the most accurate option, with full support for templates, overloads, and modern
language variants. It relies on correct include paths and macros, so pair it with an imported build.
The older, tolerant Fuzzy parser is faster and forgiving of missing headers or code that doesn't
compile, but less accurate — good for a quick first look when you can't supply build information.
Switch to it after creation in Project Configuration → C++ → Analysis Mode, or with
und -db <project>.und settings -C++UseStrict off (see the
und settings command and the full
settings reference).
For the full comparison, see Create an accurate C/C++ project.
5. Confirm languages
The Summary of Project Languages page lists the languages Understand detected — Ada, Assembly, Visual Basic [.NET], C/C++, C#, Fortran, Java, Jovial, Delphi/Pascal, Python, Rust, VHDL, Web, and plain text. Uncheck any you don't want analyzed, and set the compiler/version for each where offered.
6. Set the location and finish
On Set Location & Advanced Settings, give the project a name and location. Two useful options:
- Configure advanced settings after project creation — opens Project Configuration as soon as the project is created, so you can tune includes, macros, and filters.
- Enforce portability rules to share this project with others — has Understand create a Named Root for each non-relative path, so the project works on other machines. See Fix broken paths in a portable project.
Finish the wizard. Understand runs the first analysis automatically and opens the project when it completes.
Tip
After the first analysis, use Analyze Changed Files (Ctrl+R) as you edit — see
Keep your analysis up to date.